Simple 3D Heart Card
Today, I'm sharing how to make a simple 3D card using 'paper springs'. I'm going to show you how to make this love heart card using these springs - which can be adapted to a wide variety of cards. This is a really easy card which I have used as part of art activities with my daughter and her friends - and which I have adapted for my own cards as well.
First of all, download the A4 template for free here. Print it out onto card - I use 250gm. Cut out the card, and fold in half. Cut out the 2 paper springs, and 2 hearts. Please note, the middle heart is slightly larger than the front heart. Decorate the card and the two hearts. The front heart will be the one which is most prominent. The other two hearts will form layers beneath it.

Fold the paper springs as shown. Put some glue on the top surface. Take the card, and place the glued part of paper spring in middle of heart on card. Put some glue carefully onto the top part of the paper spring facing you. Take the middle sized heart cut out and glue it on. Repeat with the second paper spring and smaller heart. Try to line up the hearts as accurately as possible.

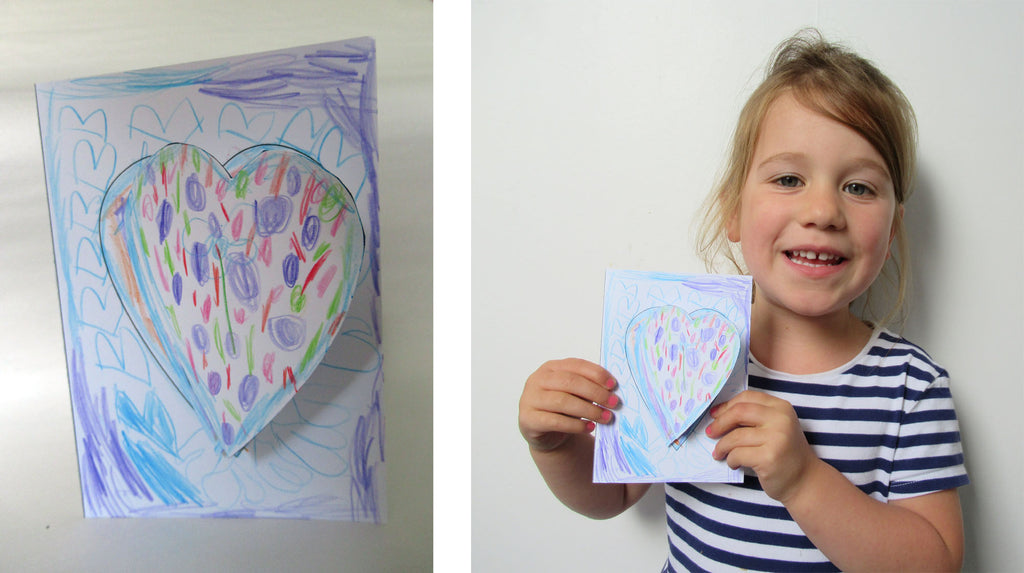
This technique can be used to great effect. Here you can see my daughter's card, with 3 colourful hearts stacked on one another. She drew a love heart, which I scanned in and printed out, each love heart slightly smaller.

I have also used it with my own designs Here you can see my bumblebee linocut which has been transformed into a card. Again, I scanned in the bee and flower, and made 3 versions, each one smaller than the previous.

If you have a scanner, try scanning in different images and resizing them. Each layer is 95% size of the one before. You could also experiment with a photo copier. This would be a lovely technique to use with wrapping paper as well. Have fun experimenting!