Never made a lampshade?
If you've never made a lampshade, then you should use a lampshade kit! Here, my friend Rhona shows how easy it is to make a lampshade using a kit from Dannells. As you can see below, it turned out beautifully.
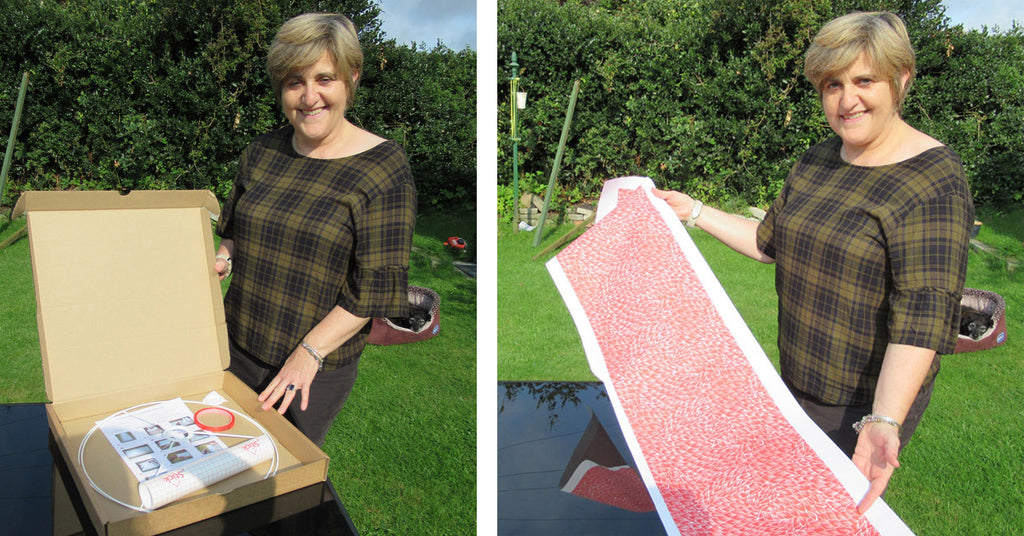
First of all, you can see the kit here - it comes with everything you need apart from your fabric - you get two rings, tape, PVC and a tool to tuck in the fabric edges. If you want, you can even ask Dannells to print your design! If you like the red feather fabric, you can buy some here.
First of all you need to stick the fabric to the PVC. It's a good idea to trace round the PVC with a pencil so you know exactly where you'll be placing it. As you smooth it out, flip over the fabric regularly so you can see it's going on smoothly.

Next stage is to stick double sided tap onto the lampshade rings. Then you line them up on your piece of PVC, ready to attach them and make up the lampshade.
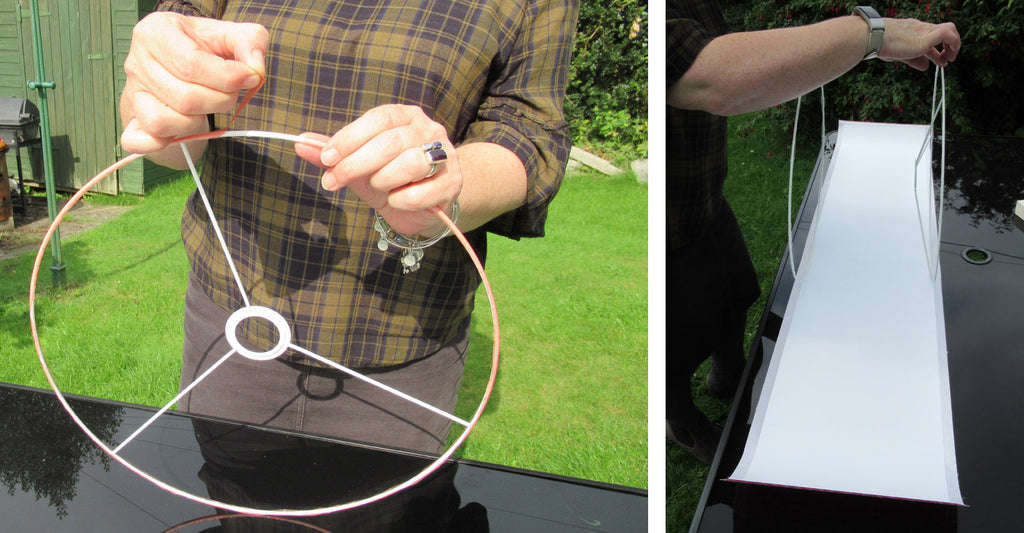
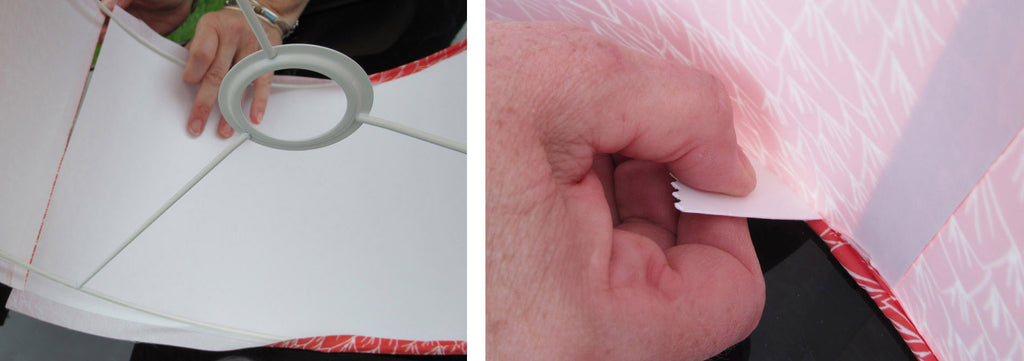
To assemble the lampshade, you wrap the edge of the fabric around the sticky lampshade rings. Once you've gone all the way round and stuck the seam down, you tuck the raw edges of the fabric in behind the rings.
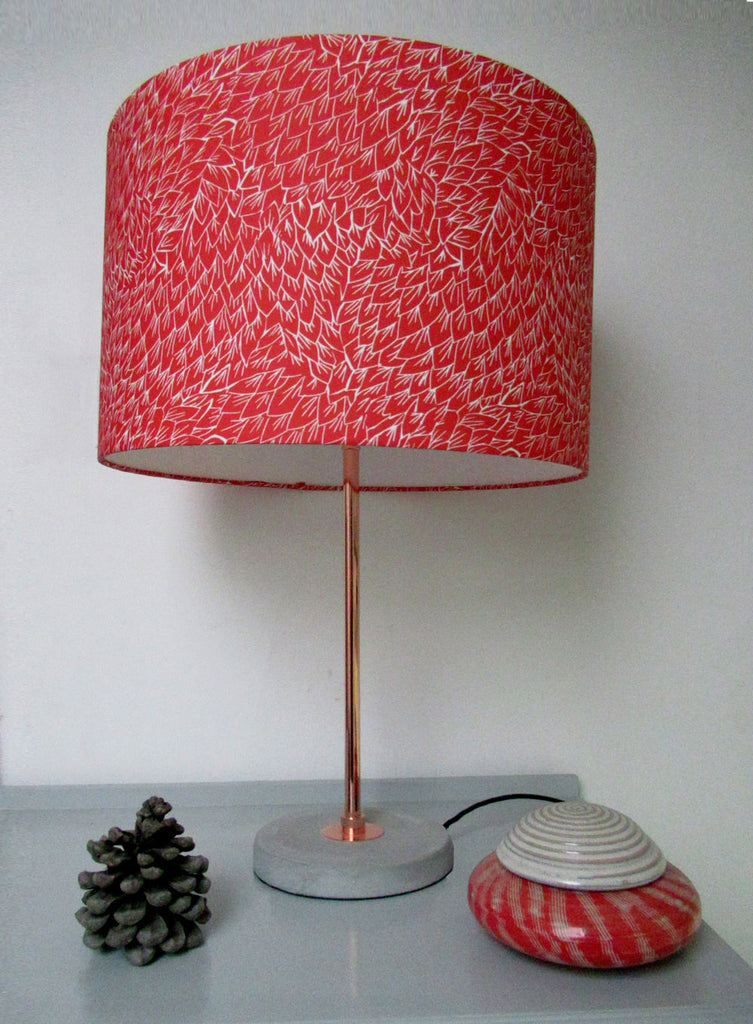
The finished lampshade! It looks fantastic! The whole process took just over 1 hour. Rhona commented: "This was simple to do, and it has a really good quality finish. It is an easy way of having an individual product. A fun, creative way to spend an hour". If you would like to read more about making lampshades, check out another beginner's brilliant lampshade - or this large scale lampshade here.
