Making a Lampshade with Children
Share
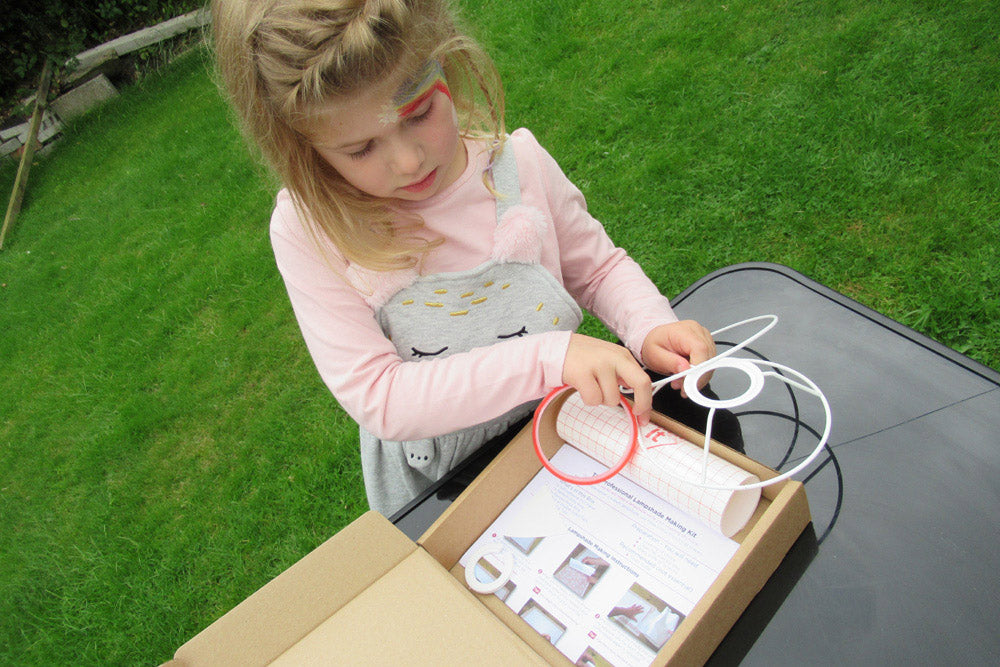
Making a lampshade with children is easy if you use a kit from a company such as Dannells. In a kit, you get everything you need - the PVC, rings, tape, and a tool to tuck in the fabric. My two lovely helpers are going to show you how to make a lampshade today! We are using fabric which they designed and had printed up - see last week's post on how to do this.
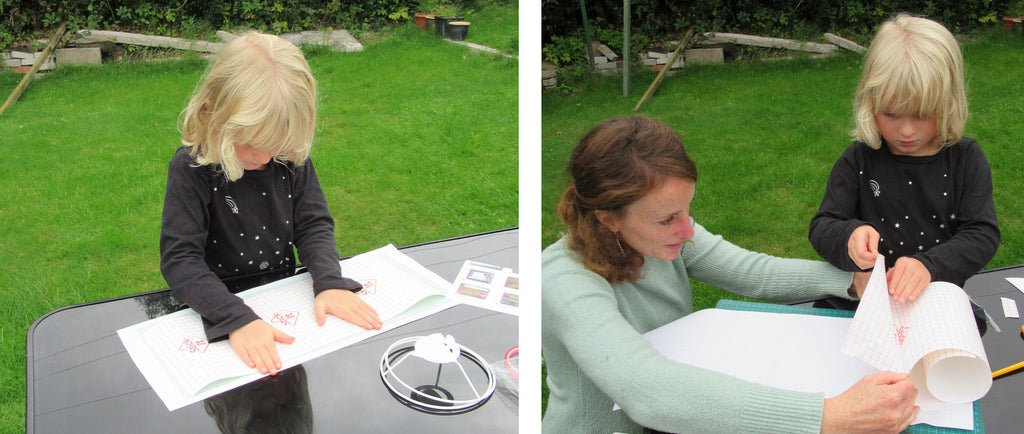
The first stage is to stick the fabric onto PVC. Lay it out flat. Work together to carefully peel the backing off the fabric and stick it onto the PVC. The girls were adept at releasing the PVC from the backing.
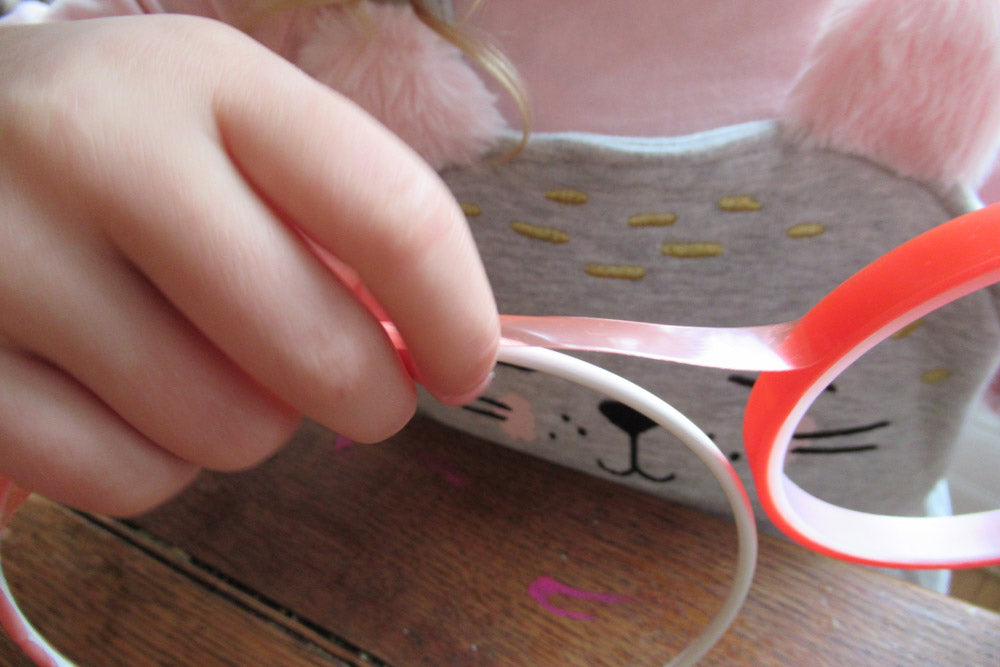
Next, it's time to stick tape onto the lampshade rings. The girls were extremely good at this! When working with children on a craft project, always enable them to do as much as possible.
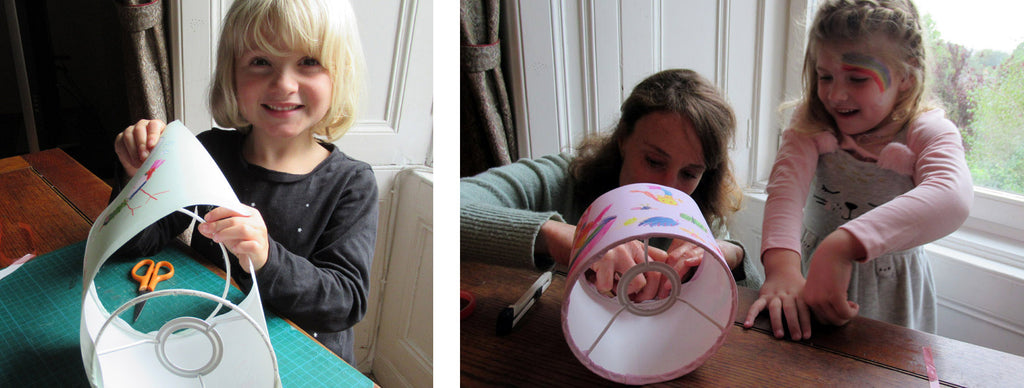
Attach the lampshade rings onto the PVC at a right angle. This is easier to do if there are two of you, each taking a ring. Then you tuck the fabric in behind the ring - this is quite fiddly, so I took on this task (albeit with supervision!).
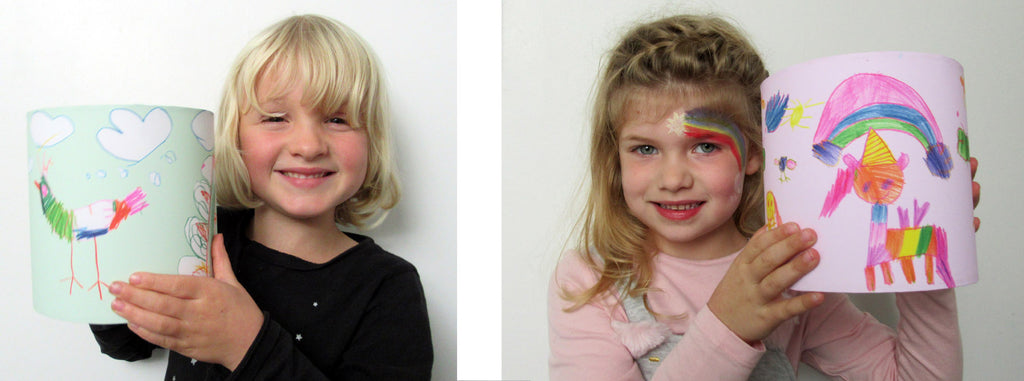
The girls with their two amazing lampshades! They turned out so well, and now they both have a completely unique lampshade for their rooms.

