How to Register Linocut Prints
 I've been asked a few times as to how I go about registering my linocut prints - that is, how do I line up each linocut representing a different colour? So I thought I would do a blog post on how I approach it. It does not follow a standard method - rather, it's what works for me. I tend to do linocut with only 2 or 3 colours, with contrasting colours in small limited areas, like this swallow.


So I thought I'd start by showing my press and registration board. It's a proofing press, which is over 100 years old, and uses a rolling movement. My registration board is a thick piece of MDF. Along 2 sides, I have firmly fixed down 3 metal rulers which gives me a perfect right angle. I stick the paper I am going to be printing on to the rulers. I stick down the longest edge of the paper onto the ruler using low tack masking tape.

I start by cutting two pieces of mount card which will be large enough to hold my linocuts. I cut the corners of the card very precisely, so they are both perfect right angles which slot snugly into the right angle of the ruler.

Here you can see the original swallow linocut in its entirety. I wanted to print this in a dark navy blue, and I needed a separate print plate with red lino pieces for the head areas. I consider the size of my mount card carefully. You need to make the mount card the same size as the piece of paper you want to print on, plus a margin where the paper will stick onto one of the rulers on the registration board.

Once you have stuck your main linocut onto the mount card, use a piece of tracing paper, and roughly trace the areas in contrasting colour which you will require. You can see here, you need to line up the right angle of the corner of the tracing paper up exactly with the right angle of the mount card.

Take your piece of tracing paper and attach it to the second piece of mount card in exactly the same way you had it laid out over your main linocut. I use scraps of lino and cut these roughly to shape and line them up under the area drawn on the tracing paper.

Draw round these scraps precisely. Using strong double sided sticky tape, stick them into place.

Take a print of your main linocut, making sure you place the right angle of the mountcard into the corner of your registration board. As this is just a rough, I do this in water based inks which are easy to clean off, and in a colour which will show up well on the lino. Here you can see how I stick my paper onto the rulers.

Carefully lift the paper off the linocut but LEAVE IT TAPED IN PLACE ON THE REGISTRATION BOARD! Take the second piece of mountcard and slot it into place on the press, again putting the right angle into the corner of the registration board. Carefully lay back down the wet linocut print you've just taken over this second piece of mountcard. The print will transfer to these pieces of lino. Outline them in a sharpie marker. Cut them out.

Here you can see the two different mount card plates for the navy and red colours of ink, and a print of the little red pieces. I always print my lighter colours first,as any mistakes will not be so obvious.
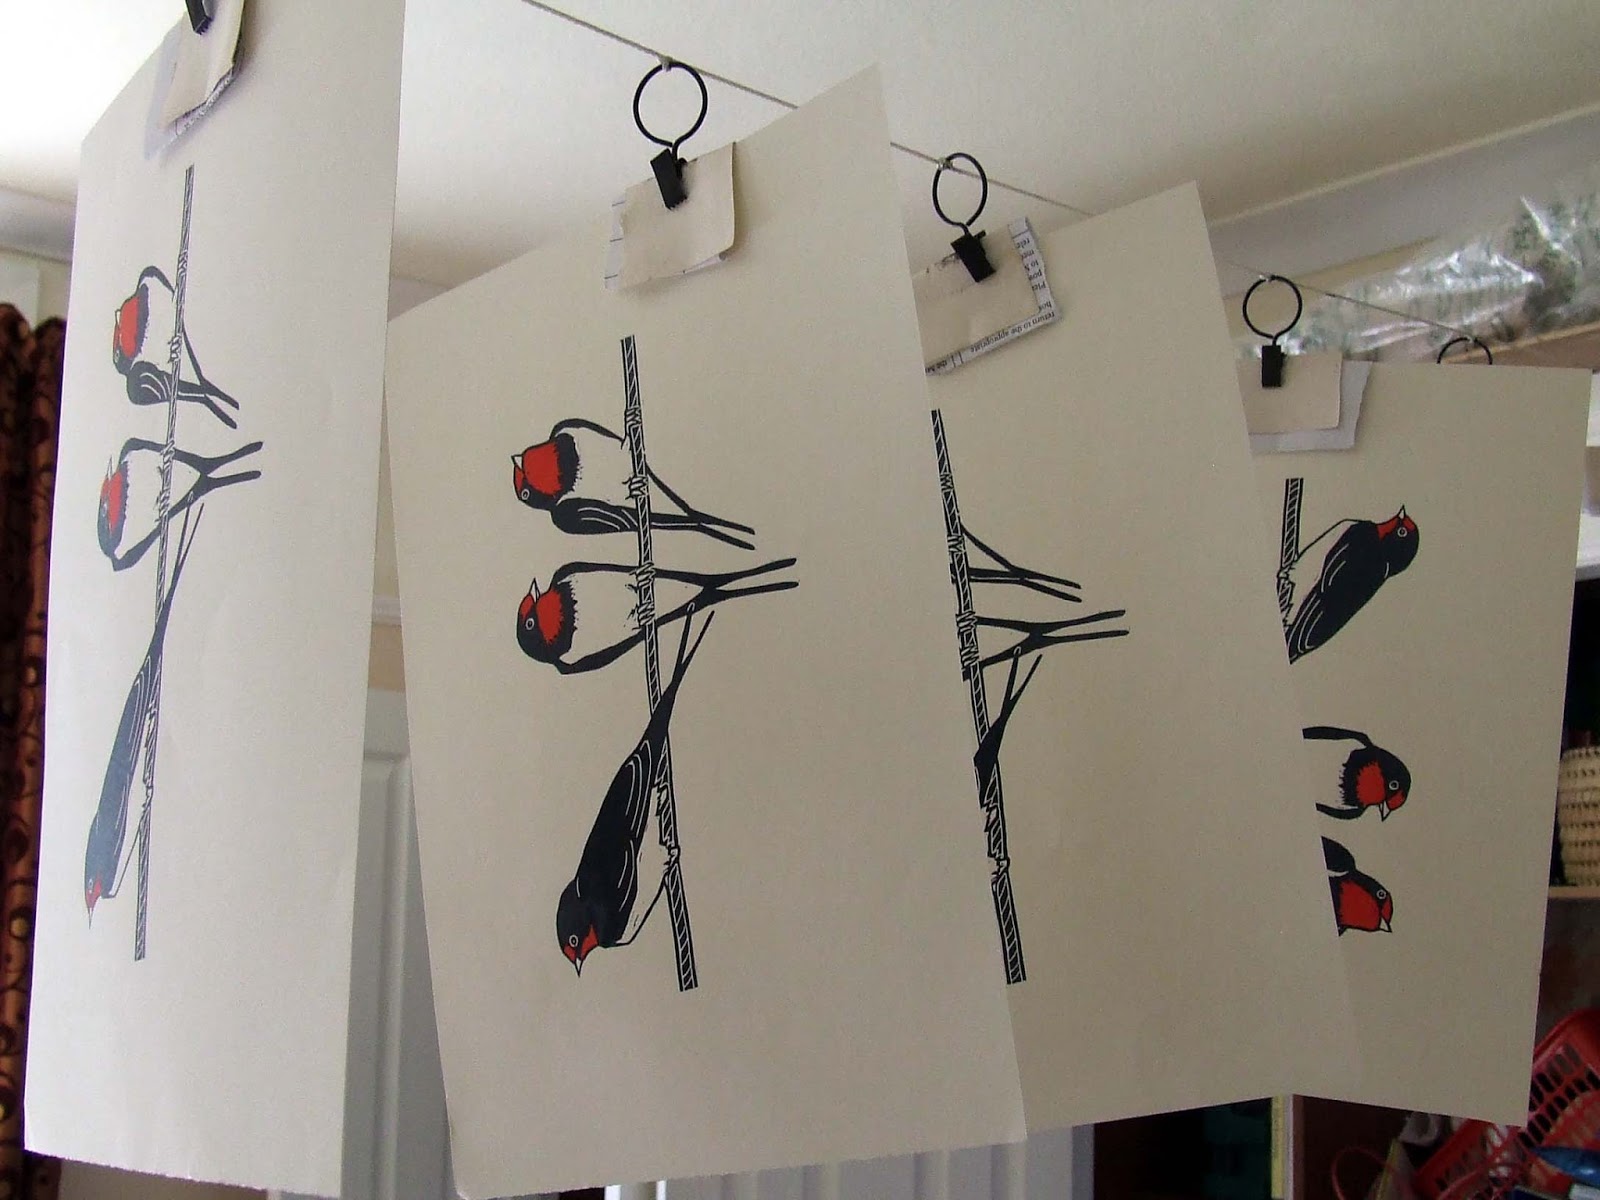
Here are the final prints hanging up to dry... and a copy of the print below.
 |
| Three Swallows on Telephone Wire |